
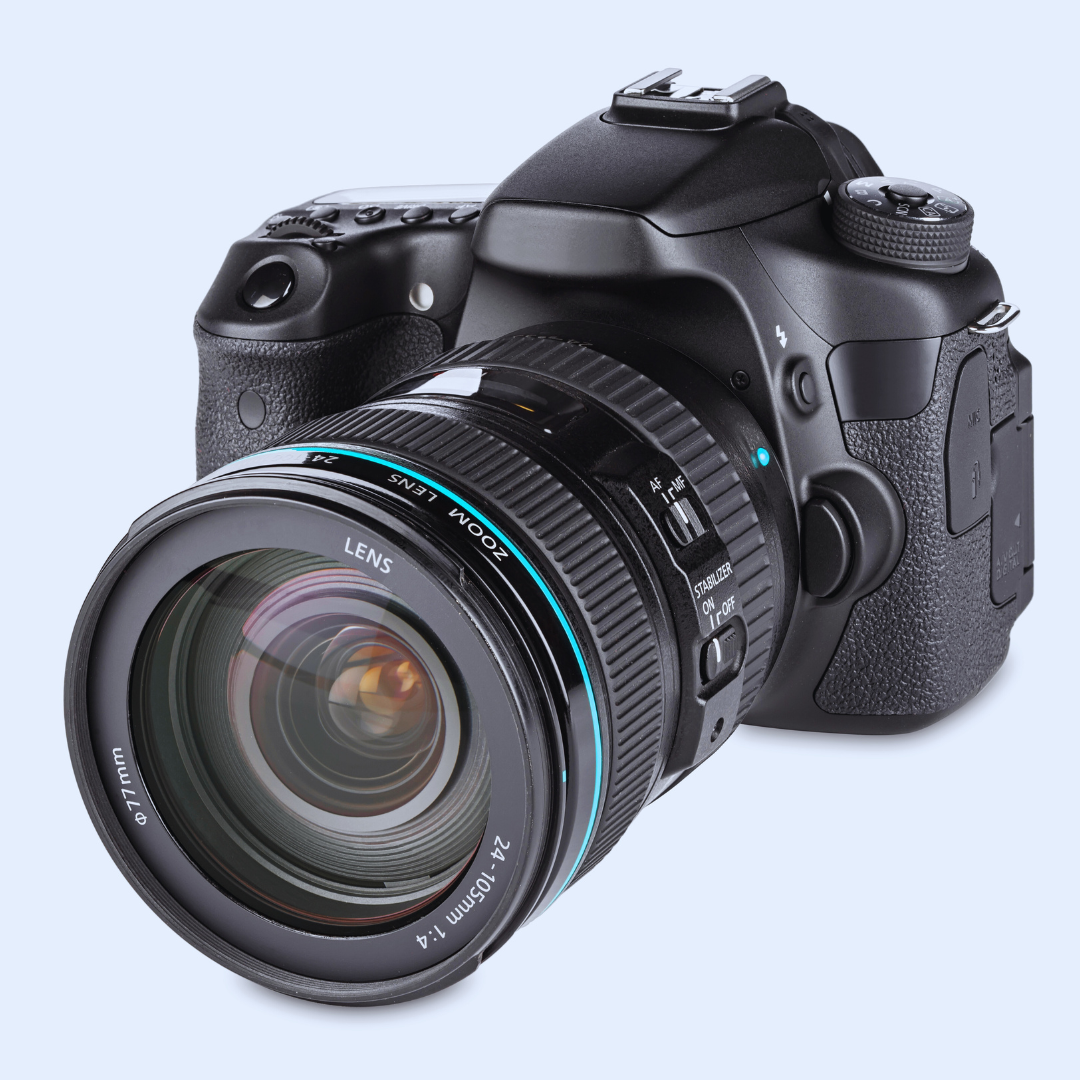
Calibrating a camera is essential for achieving professional-quality images. A properly calibrated camera ensures accurate colors, sharp focus, and correct exposure, which are vital for any serious photographer. Without calibration, even the best equipment can yield disappointing results, affecting everything from personal projects to paid assignments.
Many photographers overlook the importance of this process and may struggle with inconsistent images. Understanding the steps involved in calibration can significantly enhance a photographer’s skill set and confidence. By investing time in calibration, he or she can maximize the potential of their equipment.
This article explores effective techniques for calibrating a camera, ensuring optimal performance and reliable outcomes. From adjusting color settings to fine-tuning focus and exposure, this guide aims to simplify the calibration process and elevate photographic results.
Essential Calibration Principles
Calibrating a camera is fundamental to achieving optimal image quality. Key aspects include understanding how different components interact and recognizing common challenges that can arise during the calibration process.
The Role of Calibration in Image Quality
Calibration directly influences the accuracy of exposure, color reproduction, and sharpness in images. Proper calibration ensures that settings such as white balance, ISO, and shutter speed work in harmony.
When calibration is neglected, it can result in images that appear too bright, too dark, or with color casts. Techniques such as using color charts and test targets can help assess color accuracy and exposure levels.
Additionally, routine calibration can compensate for wear over time. Photographers should consider recalibrating after significant changes in lighting conditions or after lens swapping.
Understanding Camera and Lens Interactions
Each camera and lens combination has its unique characteristics. Understanding these interactions is crucial for precise calibration.
For instance, certain lenses may exhibit lens distortion, which can affect the overall image quality. Calibration can help correct these distortions to ensure clarity.
Moreover, depth of field and focusing accuracy can be influenced by the lens used. Specific calibration techniques involve adjusting the autofocus system, which is vital for achieving sharp results.
Photographers should utilize testing methods and software that analyze lens performance across various apertures.
Common Calibration Challenges
Several obstacles can complicate camera calibration. Environmental factors, such as ambient light and surface reflections, often affect calibration accuracy.
It is essential to pick a controlled setting with consistent lighting when calibrating.
Another challenge is inconsistency in camera settings across different sessions. Variations in white balance, exposure, and ISO can lead to discrepancies.
Keeping a calibration log of settings used can assist in maintaining consistency. Additionally, varying lens performance might require tailored calibration for each lens in use.
Awareness of these challenges allows photographers to take proactive measures in their calibration processes.
Tools and Setup for Camera Calibration
The right tools and setup are crucial for achieving accurate camera calibration. Focusing on tripod selection, lighting, and calibration targets ensures optimal results.
Choosing the Right Tripod and Lighting
A stable tripod is essential for calibration. Look for options with adjustable legs and a sturdy head. This stability prevents camera shake during calibration, which can distort results.
Key Features to Consider:
- Weight Capacity: Ensure the tripod can support the camera’s weight.
- Height Adjustment: Adjustability allows for proper positioning.
- Material: Carbon fiber is lightweight and sturdy; aluminum is more affordable.
Lighting is also critical. Soft, even illumination reduces shadows and highlights, which can interfere with calibration. Use diffused light sources to minimize harsh lighting. LED panels or softboxes provide consistent brightness and color temperature.
Calibration Targets and Accessories
Calibration targets are integral to the calibration process. These targets should have clear markings and consist of various patterns to assess different aspects of the camera.
Types of Targets:
- Color Targets: For color accuracy checks.
- Resolution Targets: To test sharpness and detail.
- Gray Cards: Useful for exposure settings.
Accessories like rulers or measuring tapes help in the precise positioning of targets relative to the camera. It’s vital to maintain the correct distance and angle to acquire consistent results. For best practices, ensure targets are properly secured and not affected by wind or movement.
Leveraging Calibration Software
Calibration software simplifies the process and improves precision. A variety of software options are available, each providing specific features for calibration.
Popular Software Features:
- Color Correction: Adjusts hues, ensuring accurate representation.
- Sharpness Analysis: Analyzes image clarity and detail.
- Lens Distortion Correction: Compensates for lens imperfections.
When selecting software, ensure compatibility with the camera model and operating system. Many programs also include tutorials, making them accessible for beginners. Advanced users may leverage more complex features for in-depth analysis.
Step-by-Step Calibration Process
Calibrating a camera involves adjusting key settings to achieve consistent, high-quality images. Attention must be given to camera settings, white balance, exposure, focus, and lens parameters for precise results.
Adjusting Camera Settings for Accurate Results
To start, configuring the camera settings is vital. Begin by setting the camera to manual mode. This allows full control over settings like aperture, ISO, and shutter speed.
- Aperture: A lower f-number leads to more light but less depth of field. This can affect focus and highlights.
- ISO: Lower ISO reduces noise but may require longer exposure times. Choose a setting appropriate for the lighting conditions.
- Shutter Speed: Adjust this to control motion blur. Ensure it is fast enough to prevent camera shake, especially in low light.
Regularly check and reset these settings before critical shoots.
Optimizing White Balance and Exposure
White balance ensures colors are true to life. Adjusting it correctly prevents color cast in images.
- Set to Auto: Initially, use auto white balance. This provides a baseline for adjustments later.
- Use a Gray Card: For precision, photograph a gray card in the desired lighting. Adjust the white balance based on the image taken.
- Exposure Compensation: Utilize this feature to adjust brightness. A +1 or +2 may be necessary in bright conditions to capture highlights without losing detail.
Regularly recalibrating white balance and checking exposure enhances image consistency.
Fine-Tuning Focus and Lens Parameters
Precise focus is crucial for sharp images. Begin calibration by utilizing the camera’s autofocus system or manually focusing.
- Autofocus Calibration: Use a test target, such as a focus chart, at different distances. Adjust the autofocus settings as necessary based on results.
- Lens Parameters: Consider depth of field and how it relates to the aperture setting. A good understanding of lens characteristics helps in achieving better focus.
Adjusting these elements can significantly improve the clarity and detail of photographs.
Verifying and Documenting Calibration
Verification forms an essential step in the calibration process. He or she should compare results before and after adjustments.
- Test Shots: Take images under various conditions. Analyze sharpness, exposure, and color accuracy.
- Document Results: Keep a dedicated calibration log. Include settings used, findings, and any adjustments made. This record is valuable for future reference.
Documentation helps in replicating successful settings and identifying patterns or issues over time.
Maintaining Professional Results After Calibration
Maintaining professional results requires a disciplined approach to recalibration, effective post-processing, and noise management. These strategies ensure consistent performance and high-quality output throughout the camera’s lifespan.
Periodic Recalibration Routines
Regular recalibration of the camera is essential for sustained accuracy. Photographers should establish a routine for checking calibration, ideally every few months or before significant shoots.
This process involves:
- Using Calibration Tools: Employing calibration charts and software can help identify any discrepancies.
- Environmental Changes: Factors like temperature and humidity can affect the camera’s performance, necessitating recalibration.
- Usage Patterns: Frequent changes in shooting styles or settings can lead to drift in calibration.
Keeping a log of recalibration dates helps track when adjustments are necessary.
Incorporating Post-Processing Techniques
Post-processing improves images significantly, allowing photographers to enhance their results after the shot. Effective techniques include:
- Editing Software: Programs like Adobe Lightroom or Photoshop can correct color imbalances and exposure issues.
- Batch Processing: For consistency, batch processing settings can apply the same adjustments to multiple images.
- Noise Reduction: Tools specifically designed to manage noise help maintain image quality, particularly in low-light photos.
Photographers should develop a workflow that integrates these techniques for more polished and professional results.
Managing Noise and Consistent Performance
Noise can detract from professional quality. It is crucial to manage it effectively during the shooting process. This involves:
- Optimal ISO Settings: Keeping ISO levels as low as possible reduces noise.
- Exposure Triangle Balance: Proper management of aperture and shutter speed ensures well-exposed images while minimizing noise.
- Noise Reduction Techniques: Employ in-camera noise reduction settings, or use software solutions during post-processing to tackle noise effectively.
By following these practices, photographers can enhance the clarity and overall professionalism of their images.